The Fields Section
The Fields section is used to specify what information from the selected Data Source is collected for the report. This section is also used to define how the Field information is formatted, sorted, and grouped.
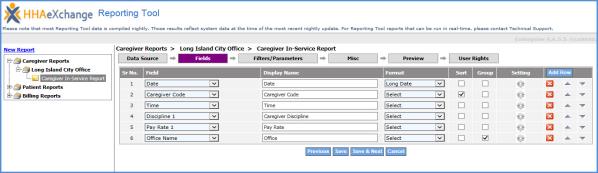
The Fields Tab
Define the following to set up a new Field.
|
Field |
Description |
|---|---|
|
Field |
Select a Field for the report. |
|
Display Name |
The name of the selected Field as displayed in the report. By default, the Display Name reflects the selected field. This value can be edited as needed. |
|
Format |
Specify how information in the related field is formatted. For example, fields containing date information can be customized to display in one of several ways. Note: The Format option is not available for every Field. |
|
Sort |
Select this checkbox to sort the results of the field in ascending order. Selecting this checkbox for multiple Fields prompts the system to sort based on the Sr. No, located in the left-most column of this section. |
|
Group |
Select this checkbox to group report information based on the associated Field. For example, to run a report to review Caregivers based on the Office they work for, then select the Group checkbox for the Office field, ensuring that Caregivers are grouped together based on this criterion. |
|
Field |
Description |
|---|---|
|
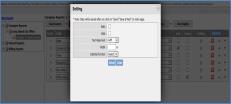
Setting |
Select the icon to define additional formatting requirements to include italicizing or bolding the field text, adjusting alignment or cell width, and specifying a Subtotal Function as well as adding a count to the field.
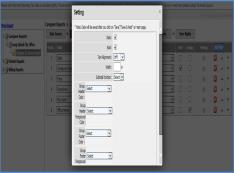
Field Setting Fields defined as a Group contain additional Setting options to also add colors.
Group Field Setting |
|
Add Row (Button) |
Click the Add Row button to add more fields. |
|
Delete (Icon) |
Click on the delete ( |
|
Field Arrangement (Arrow buttons) |
Use the up/down arrow buttons to rearrange fields. Click the up arrow to move the field one place right in the report. |

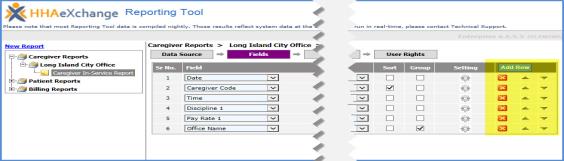
Add, Delete, or Move Field